Assign a Picker and Ready for Picking a Batch of Allocated Orders
This article provides guidance on selecting a picker and preparing for the picking process for a group of allocated orders, ensuring a smooth and efficient fulfilment process for your business.
Table of Contents
Assign a Picker to a Batch of Orders
This first stage can be performed as a batch: every morning you may want to set your pickers and generate the works orders for the day! Rather than entering each order individually, the pickers can be set as a batch process.
From the menu click “Sales” and pick “Live Orders” from the drop-down menu.
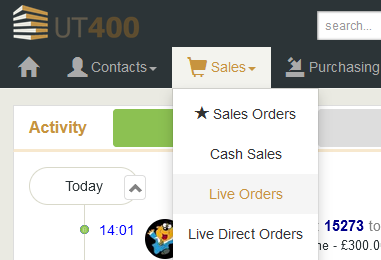
You will be taken to the Live Allocated Orders View (excluding bulk and direct orders).
There is a comprehensive filter to drill down your data and create a list for picking. We find Picking Status, Picking Date, and Has Picker, useful filters to drill down the list into orders that need to be picked.

You are presented with a list of live allocated orders ready for picker allocation and to set live for picking.
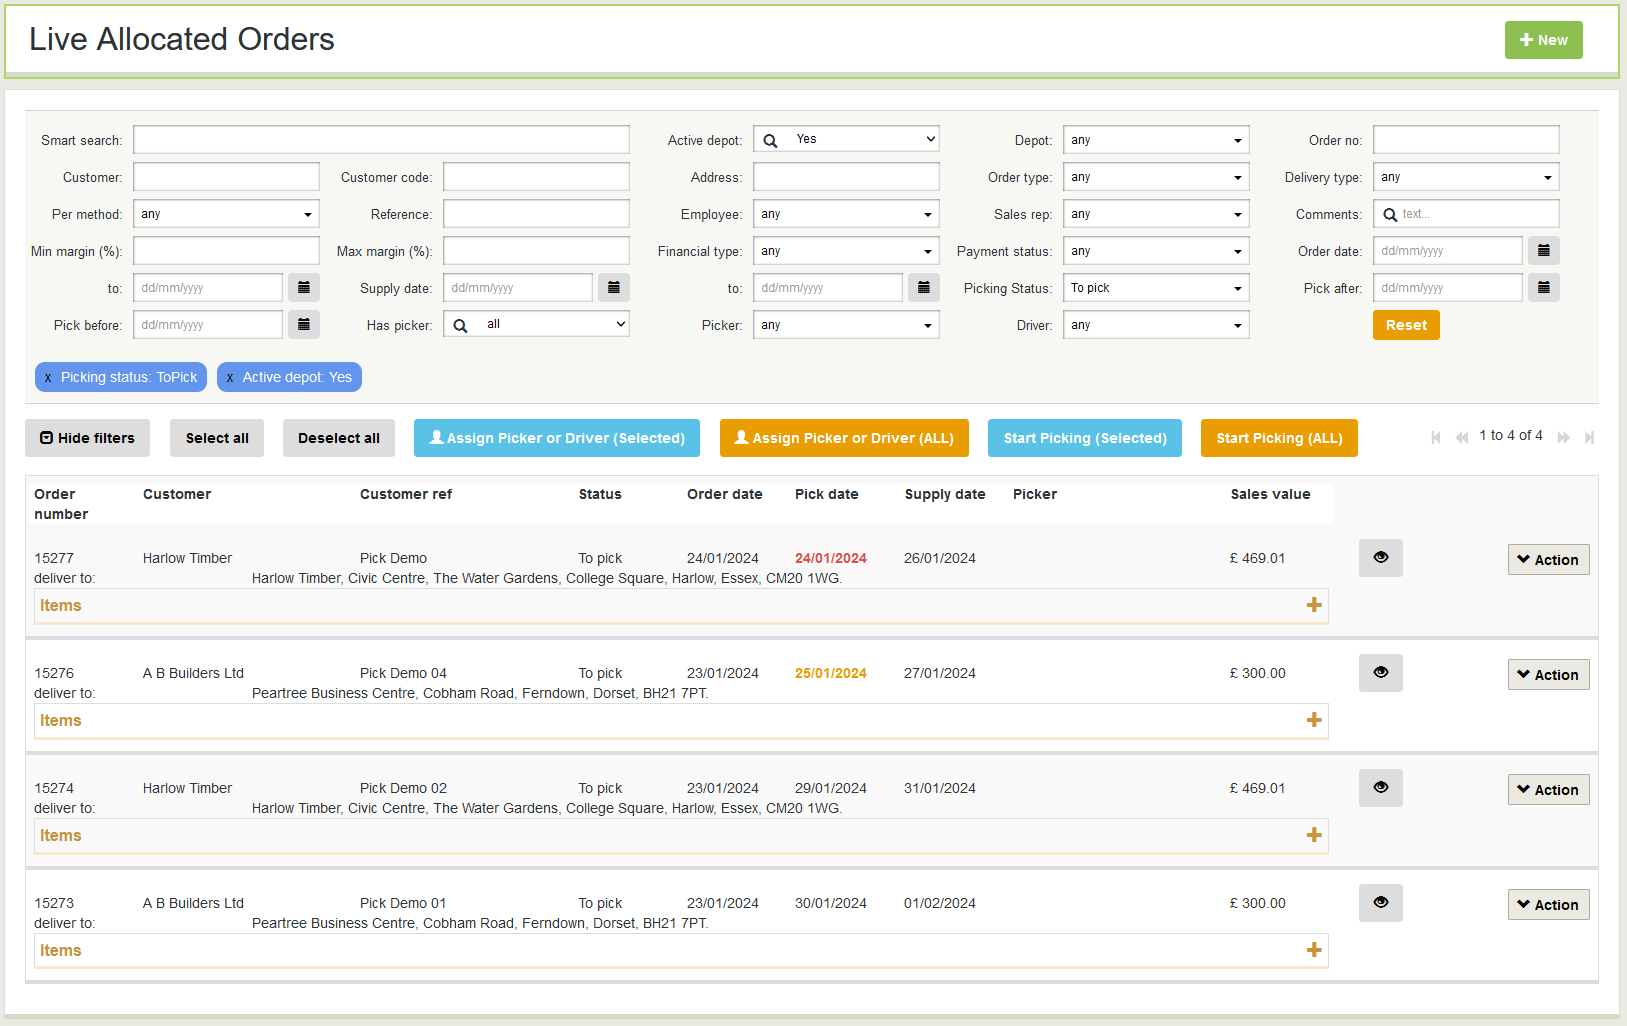
Items Line
If you click the + on the item line it will expand to give a quick view of the order lines to help you decide the correct picker for the job.

Also if the pick date is orange, the order should be picked today and if the date is red you are late picking the order.
The “Pick before days” are set in the system settings How to Turn on Advance Order Picking.

To add a picker to a batch of orders, you can click on all the orders in the list that you require to highlight them. To unselect, click the order again.
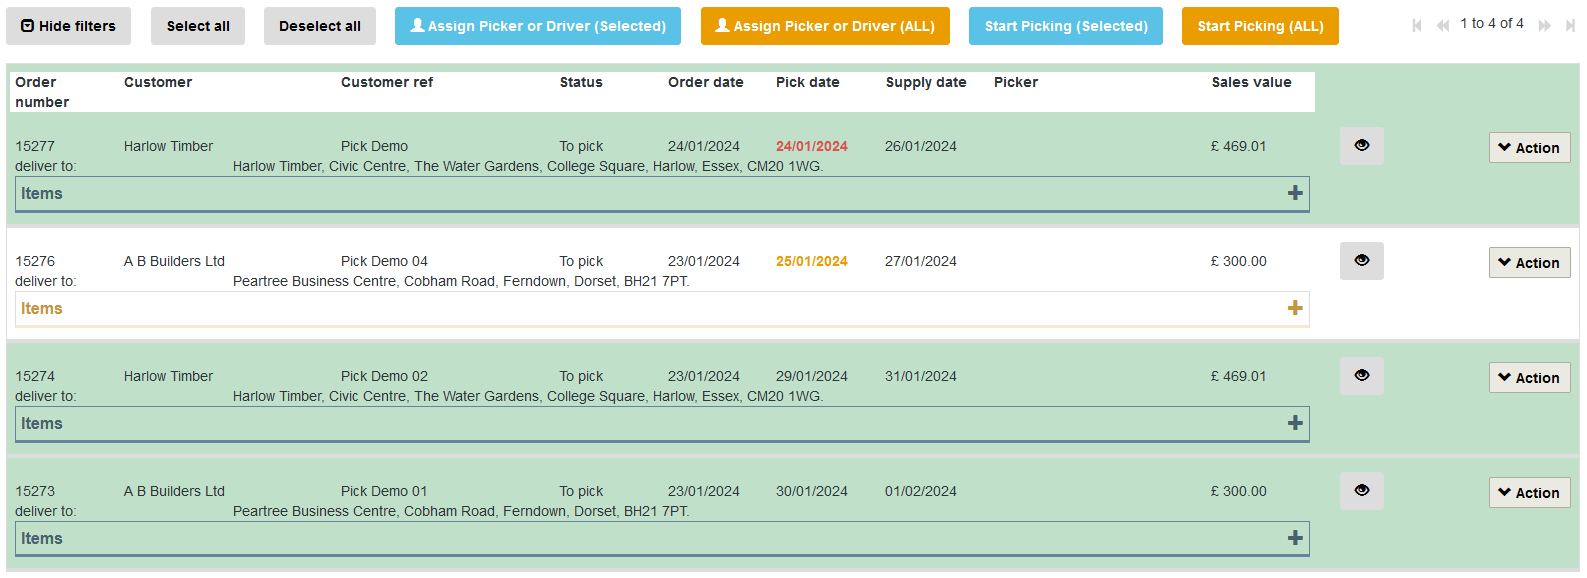
Then click the “Assign Picker" or "Driver (Selected)” button at the top of the list.

Select your Picker from the drop-down list and click the Assign button.

Set a Batch of Orders to the Picking Status
Once your Pickers are assigned, you can set the orders to the Picking status as a batch procedure too.
Select all the orders you want to move from To Pick into the Picking status.
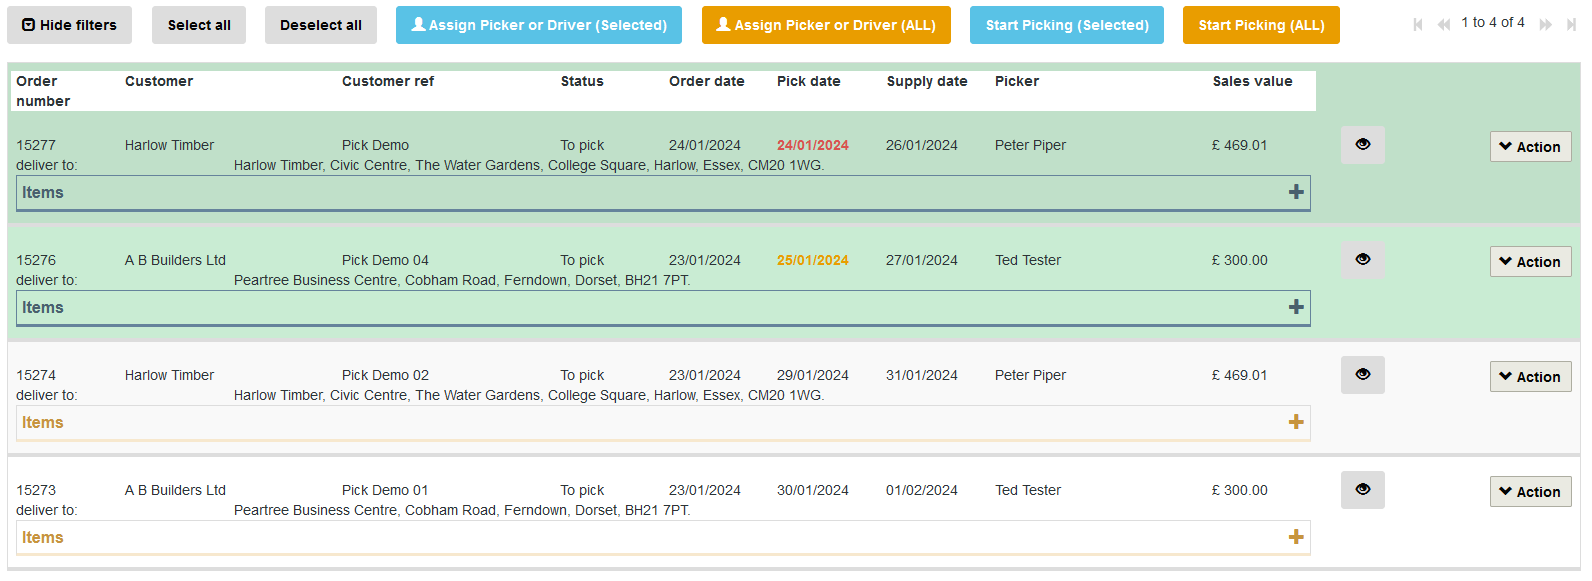
And click the Start Picking (Selected) button

(ALL) Buttons:
The "ALL" buttons enable you to make extensive changes simultaneously. Ensure accuracy if using this, as incorrect changes may occur inadvertently if not approached with caution.
After a short time of processing, you should see a message like this.
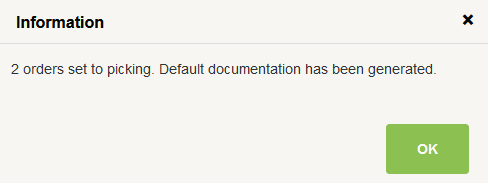
If your documentation is set to generate at this point it will generate automatically for you. You are now ready for the team to pick the order.
Once the picking is complete you will need to confirm the pick in UT400 Merchanter.
Managing a single order:
If you wish to manage a single order from this screen you can.
Under the Action button drop-down, the same options are available as being in the order itself.
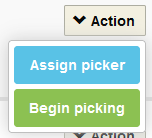
The next step would be Confirming the Picked Order.
You can also Assign a Picker to a Single Order and Ready for Picking.
Advanced Order Picking Overview