How to Turn on Advance Order Picking
Discover the step-by-step process to enable advance order picking in your system, improve efficiency, and streamline your warehouse operation.

Written by Ryan Osborne
Updated at February 2nd, 2025
Table of Contents
Activate Order Picking in Your Ledger
To set up order picking on your ledger, ensure that you are logged in to Merchanter/UT400 with a user account holding a "Prime" role or you will not have the required permissions to complete the next steps.
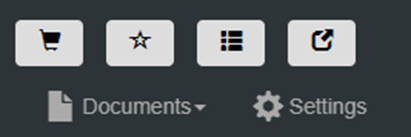
Once logged in, locate the "Settings" button on the menu at the top right.
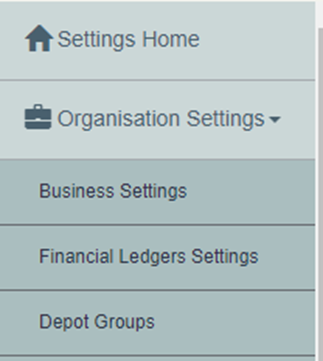
From the system settings screen go to Organisation Settings – Financial Ledger Settings
Select the correct ledger and click edit.

A new window will open.
On the top menu click r Options.
Then on the menu below select the Orders tab.

Scroll down to the Order Workflow section.

Tick “Use picking substatuses”, this will present more options, “Use picking status for delivered orders” and “Use picking status for collected orders”
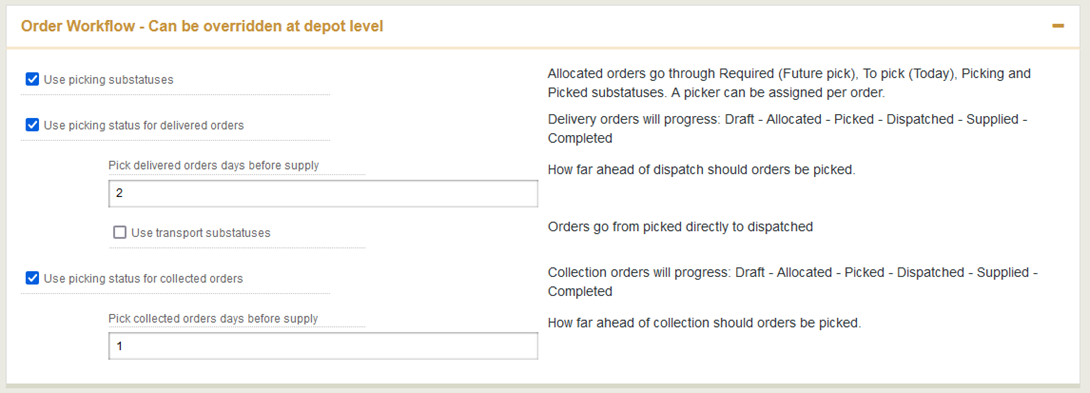
By implementing the new sub-statuses, you can enhance flexibility in managing both delivered and collected orders, accommodating diverse business processes for each order type.
The “Pick delivered orders days before supply” field and the “Pick collected orders days before supply” field allows you to set picking dates in advance of the delivery date.
For example, based on the settings on the screen above, a delivered order placed on the 20th would show for picking on the 18th and a collected order would show for picking on the 19th
If you do not want to set advanced picking dates leave 0 in the box.
Do not leave the field blank or empty or you will get an error when inputting an order.
Once all your changes are made scroll to the bottom and click the Save button
Use transport sub-statuses:
Ticking “Use transport substatuses” would turn on the advanced dispatching options and would be more relevant to your transport planning.
Video Guide