Confirming the Picked Order
Learn key tips and guidelines for confirming your picked order efficiently, ensuring accuracy and customer satisfaction in the delivery process.

Written by Ryan Osborne
Updated at February 6th, 2025
Table of Contents
Confirm Your Pick
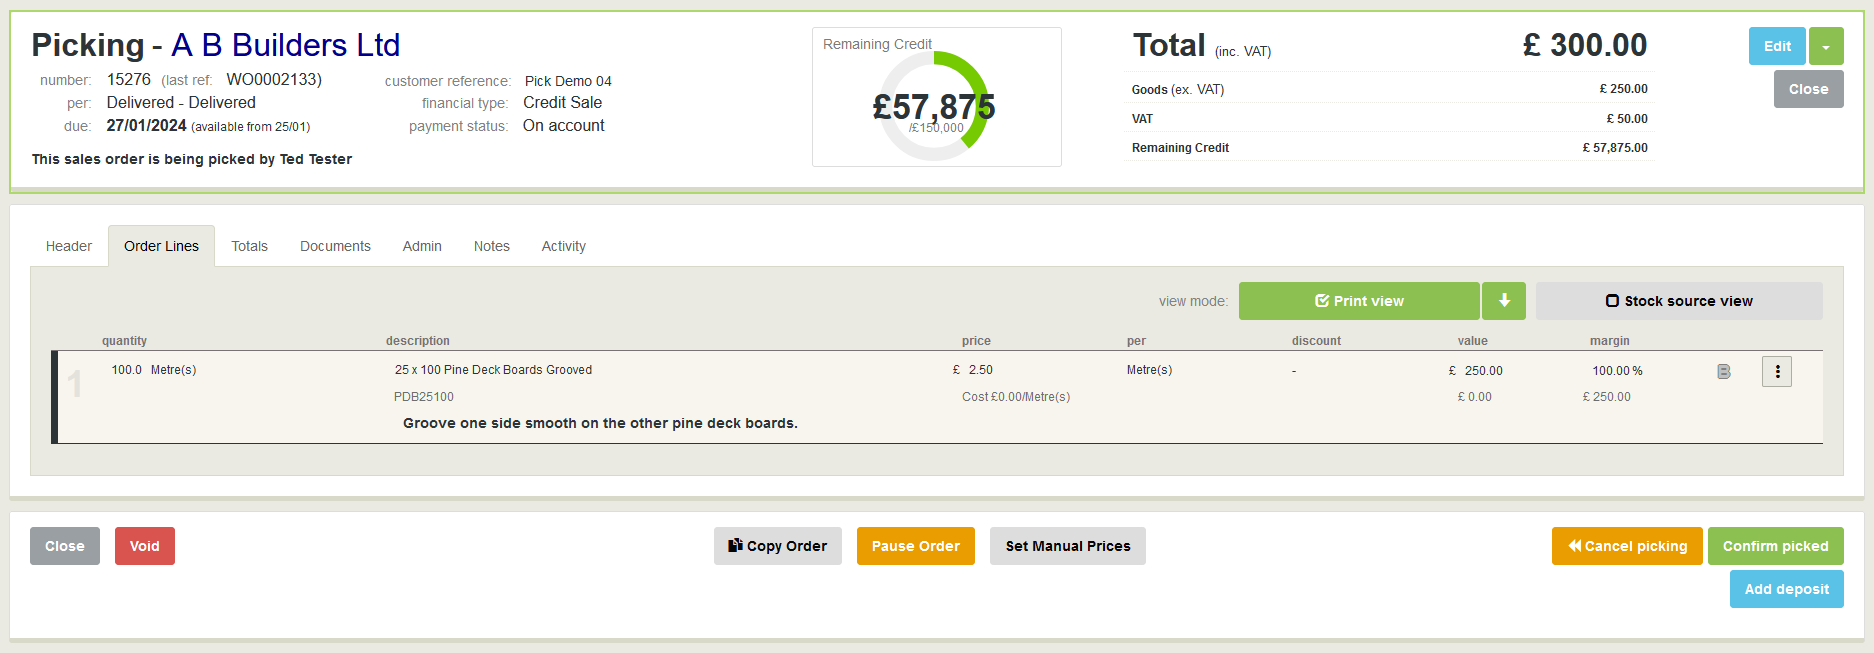
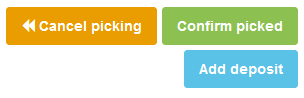
Once the team has performed the physical pick of the order and the quantities are confirmed, you can go back into the order in Merchenter and click Confirm Picked.
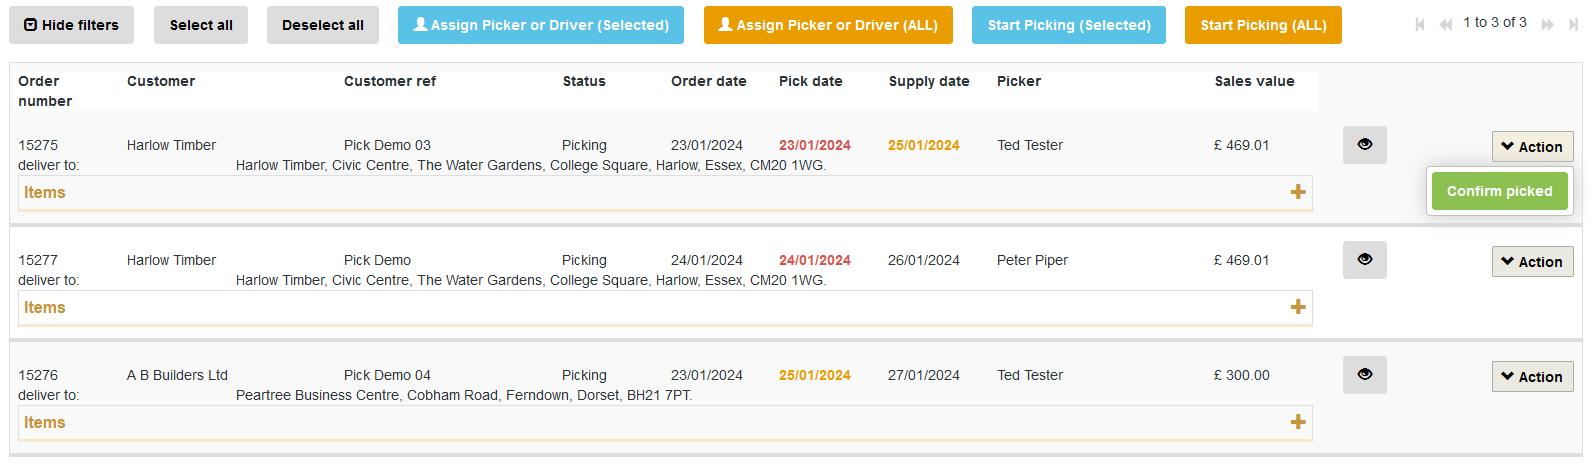
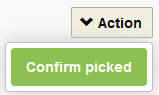
Or you can go back to the Live Orders list under the sales menu. Use the filters to get a tight list of picked orders and then click the action button to confirm the order as picked.
After clicking Confirmed Picked, another confirmation window will open.
You get another chance to amend the picker if required.
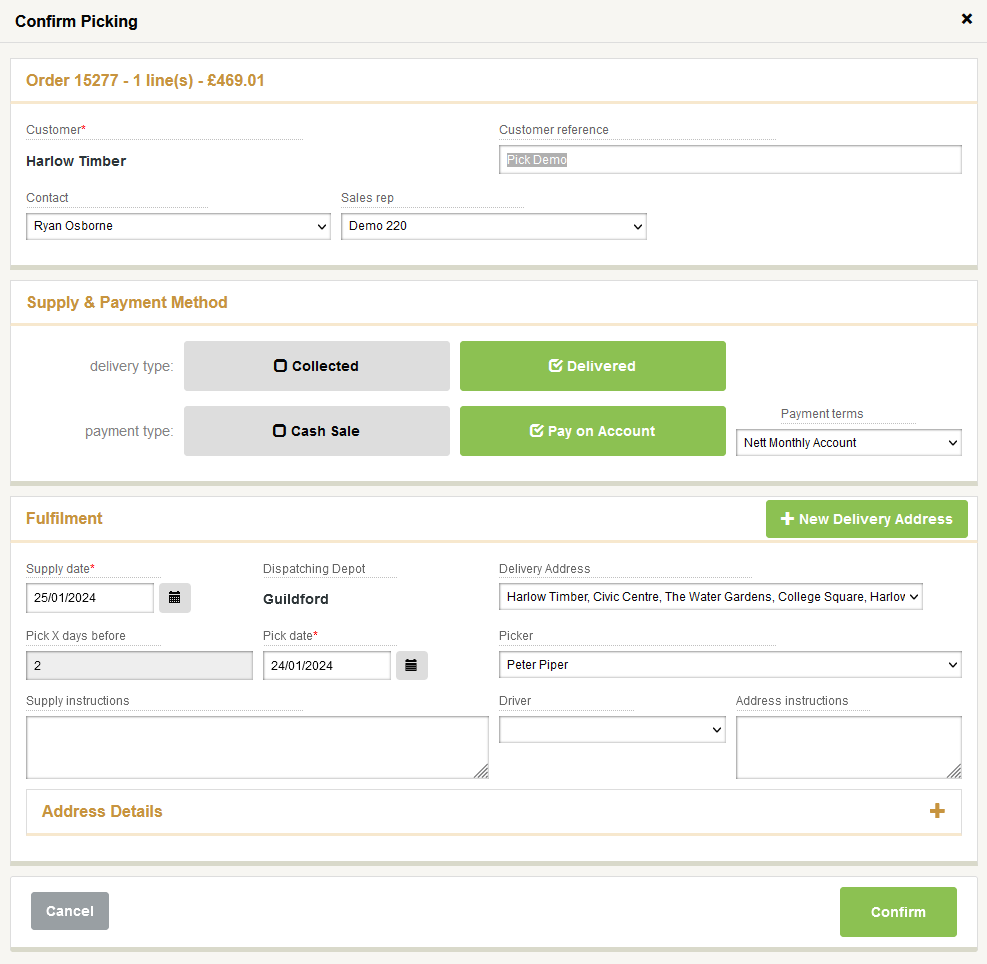
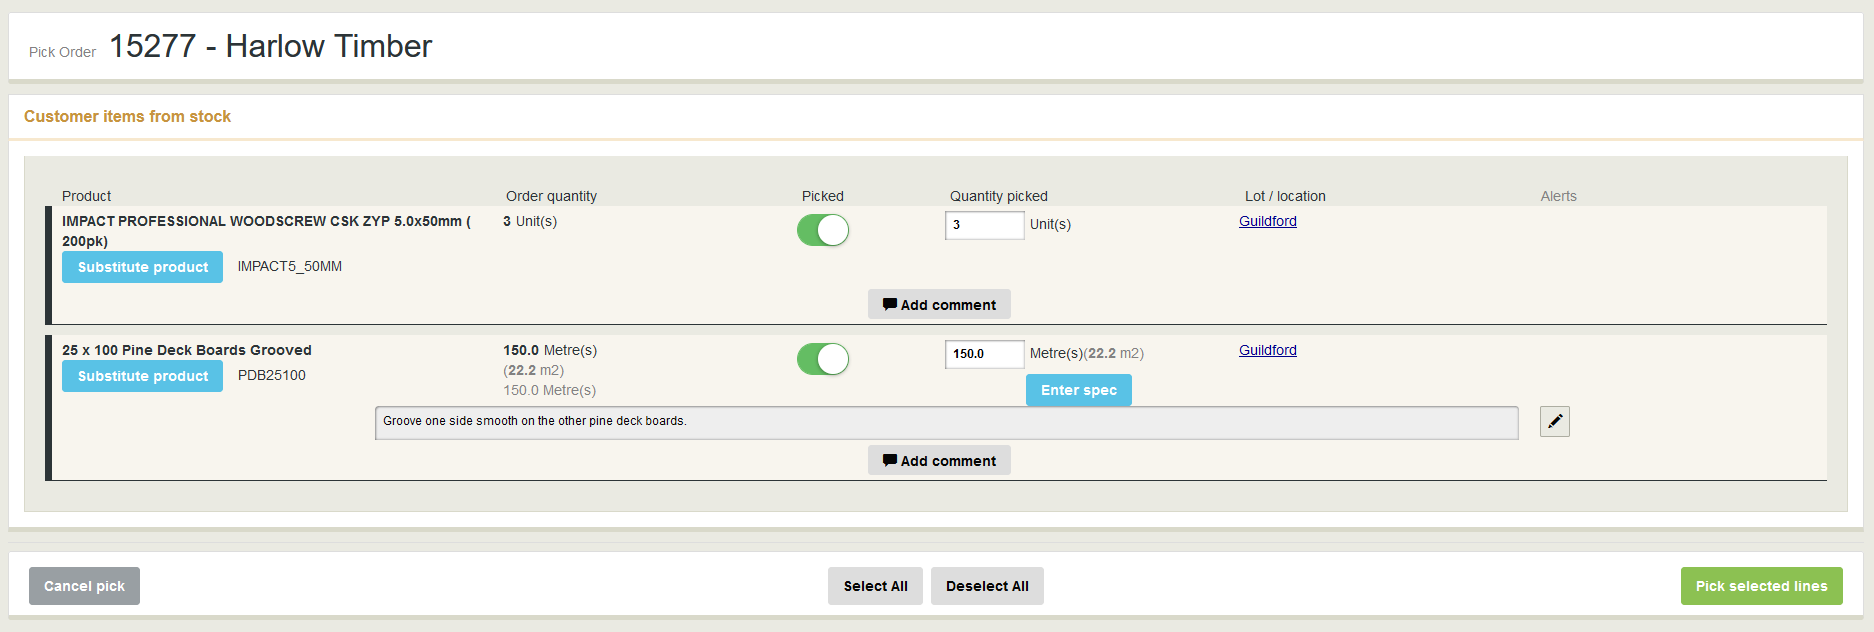
Clicking Confirm will take you to the screen where you can confirm the quantity picked for each order line.
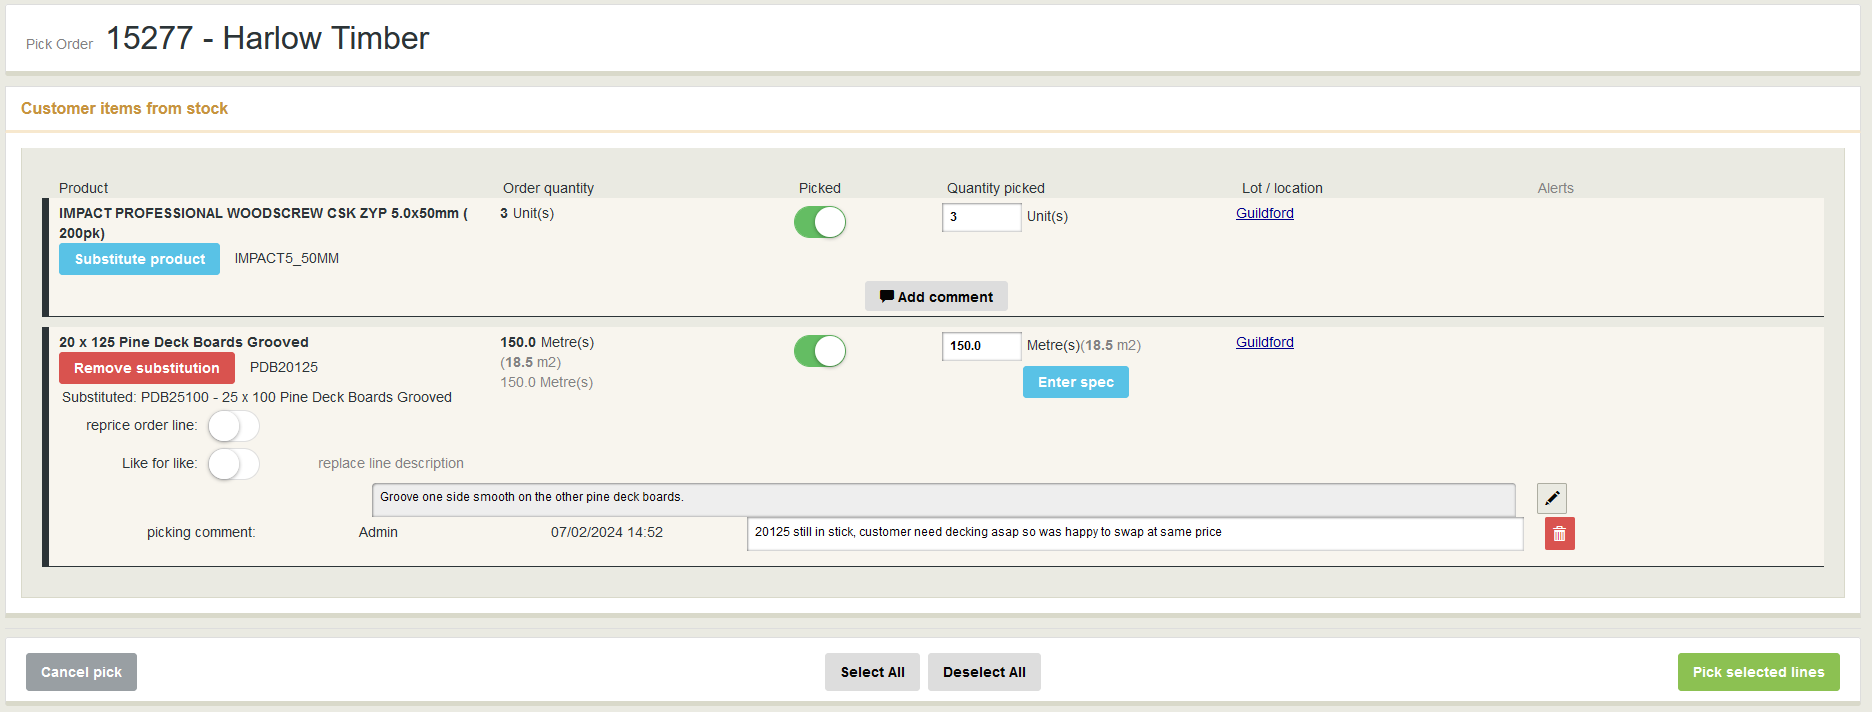
Substituting a product
If you need to you can substitute a product line for a different product, if the originally ordered product is unavailable or if the customer made a last-minute change.
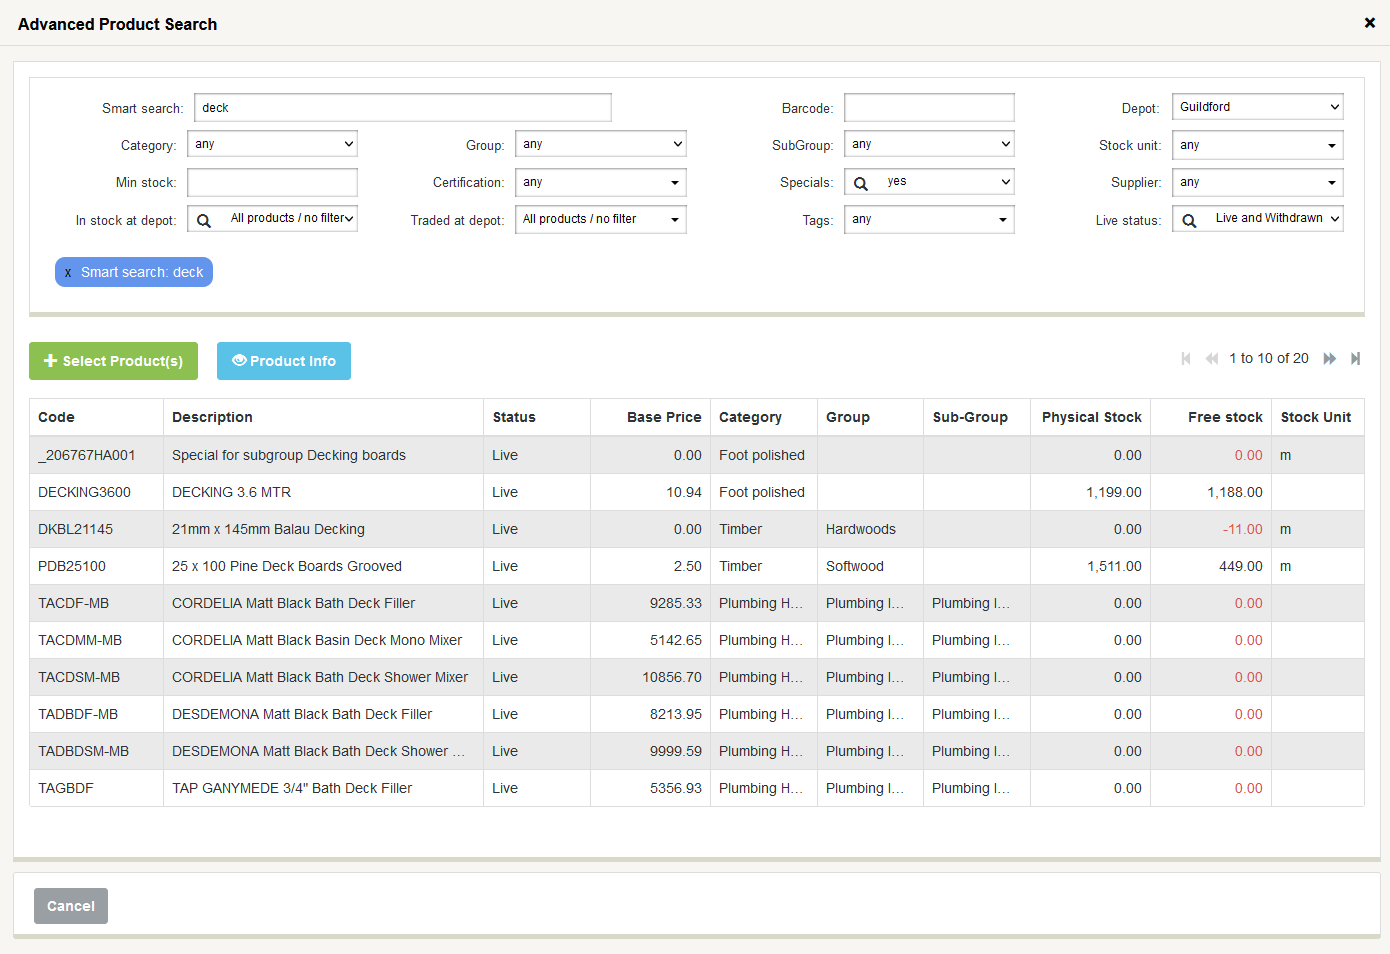
Just click the substitute product button and the advanced product search window will open.
Find your replacement product, click on it then press the Select Product(s) button.
You will get an information box to warn you of any differences between the two products
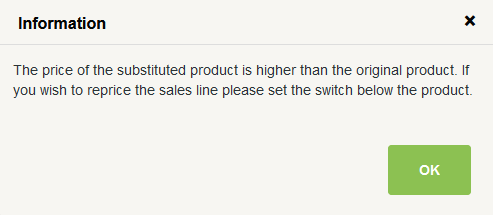
Two new buttons will now appear.

You can keep or reprice the new item to match the originally ordered product.
And you can replace or keep the original line description.
Just click the required slider.

A picking comment can also be included with the line if required.
Click the add comment button and type your comment.
Picked button
Clicking the picked button and changing it from green to grey sets the line to not picked.

This will create an alert and allow you to cancel this balance and free up any allocated stock or create a new backorder for the item. The back order will be created for you automatically and a note will be added to the timeline.

If the full amount was not available to pick for the customer, just change the Quantity pickled field.
If you picked under the originally ordered quantity you will get an alert allowing you to cancel the balance or to create a back order.

You also get an alert if the quantity picked is over the quantity ordered, but the system will allow you to carry on and process the order.

If you use packs you can select/swap specifically picked packs on these order lines.
Completing the pick
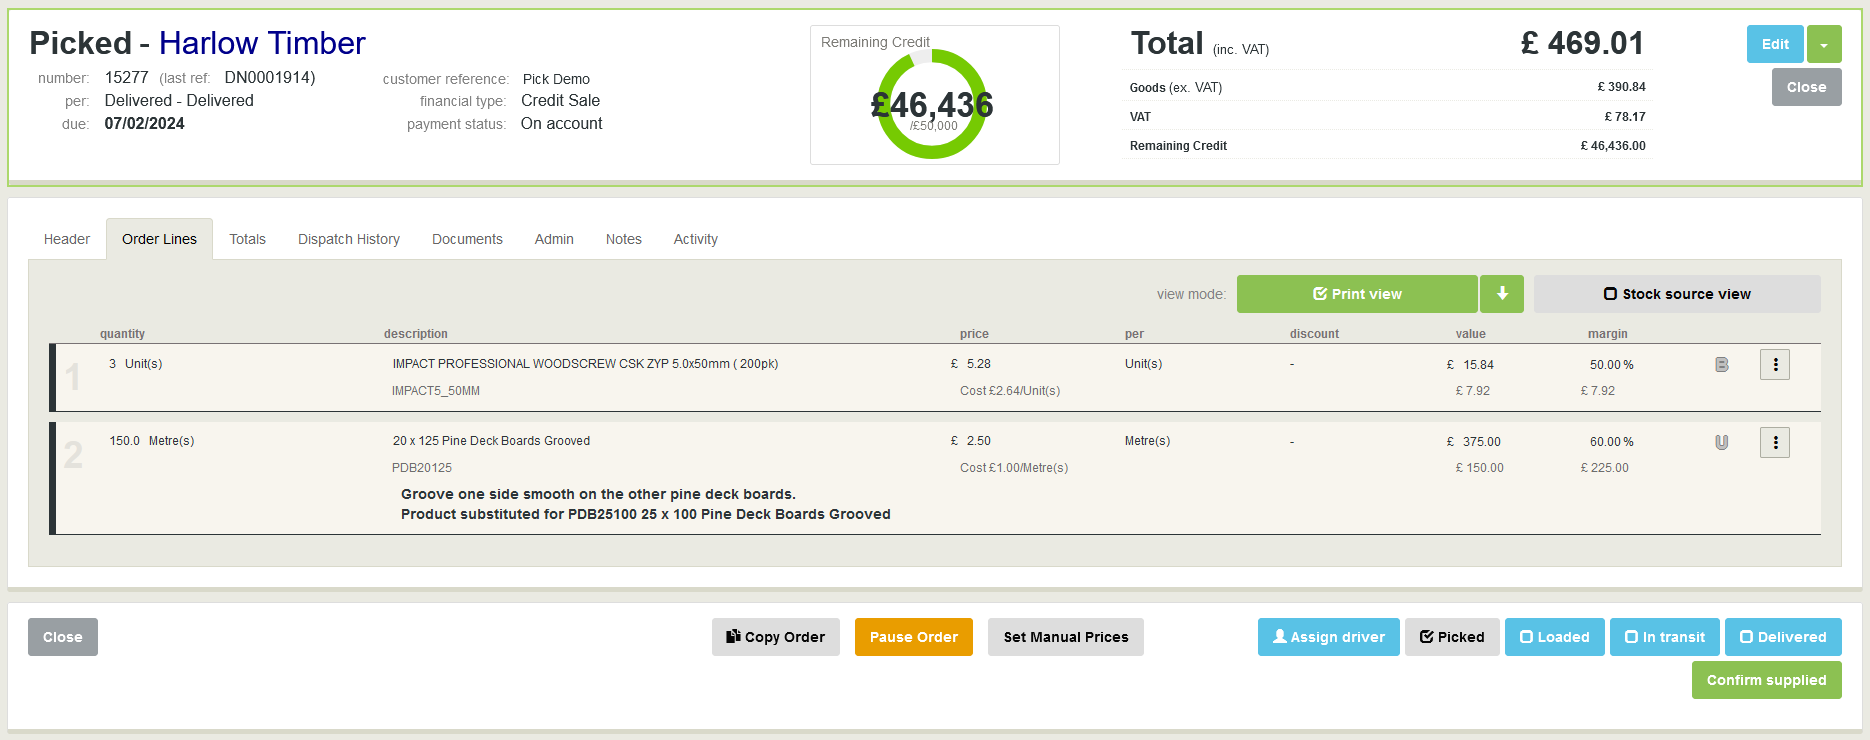
Once you are happy that your order on the system reflects what has been picked. Click the Pick selected lines button in the bottom right.
The status of the order should have changed to Picked and all the picking changes are now updated on the order.
Unfortunately there is no batch process for confirming picked orders, it is not possible due to the unique variables of each order.
You can now Dispatch your order when required.
Basic and advanced dispatch
The dispatch system also has a basic mode from picked to despatched and an advanced mode where the order will move through the statuses of picked, on vehicle, in transit and dispatched.
[LINK] - Advanced Dispatch Overview
How to Turn on Advance Order Picking