How to add, edit or delete Company Logo's, Header and Footer in Merchanter/UT400
Learn how to customise your Merchanter/UT400 documents by adding, editing or deleting company logos, headers, and footers to create a professional and personalised appearance for your business website.

Written by Omer Khaled
Updated at March 26th, 2025
Table of Contents
Prime or Admin Access Level Required
Only Prime and Admin Users can add, edit, or delete company logos and images.
Recommended Image Types and Sizes
- JPEG and PNG are recommended image types
- Order header is 1003px x 211px (16.77cm wide, any height)
- Order footer is 153px x 72px (Up to 7cm wide, any height)
- BrandStrip is a JPEG 400px by 40px
- Logo is a JPEG 400px by 200px
- Footer is a JPEG 1200px by 50px
How to add, edit or delete Company Logos and Images at Ledger Level
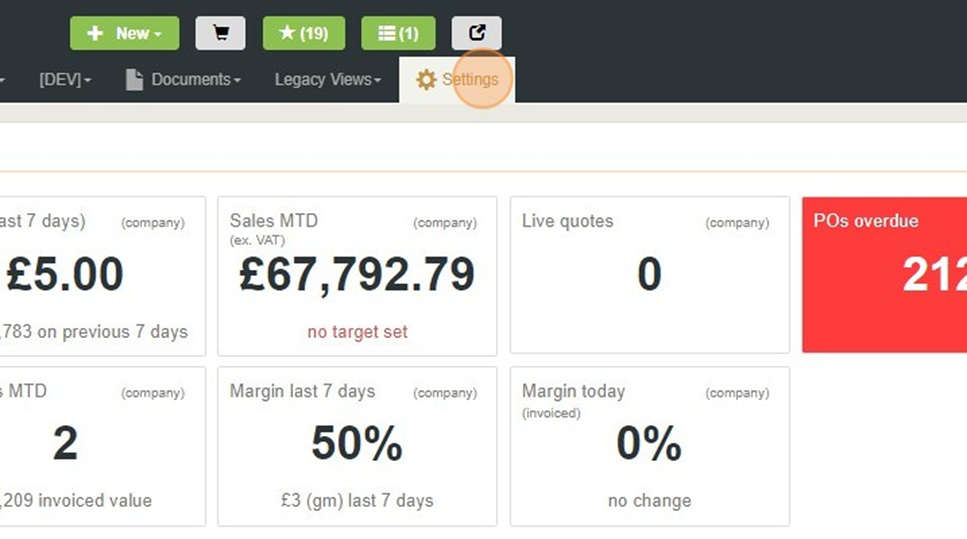
Log into Merchanter/UT400 and Click “Settings”
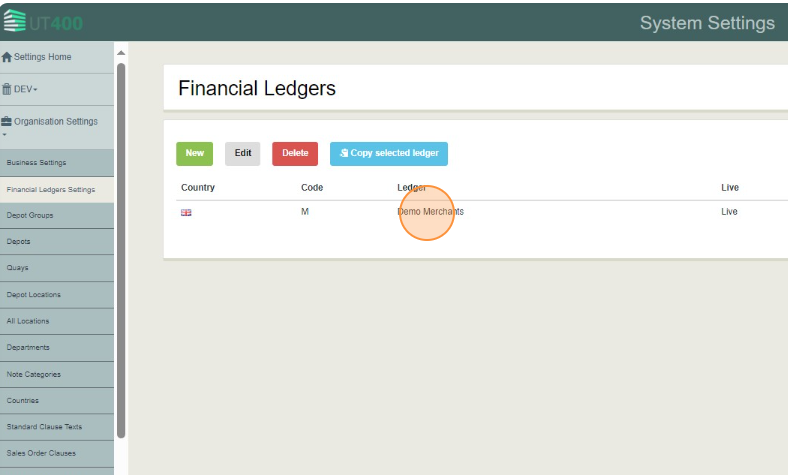
Click Organisation Settings > Financial Ledgers Settings and double click Ledger.
Select Ledger Images tab.
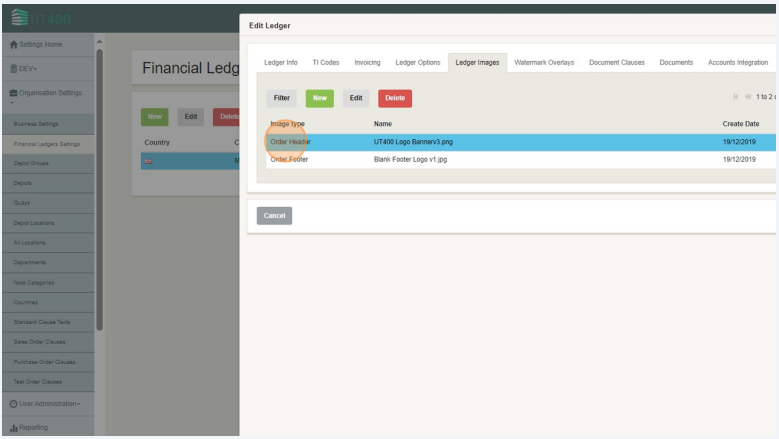
- New: This option lets you add new images.
- Edit: This option lets you edit an existing image.
- Delete: This option lets you delete an existing image.
Once done click “Save”.
How to add, edit, or delete Company Logos and Images at a Depot Level
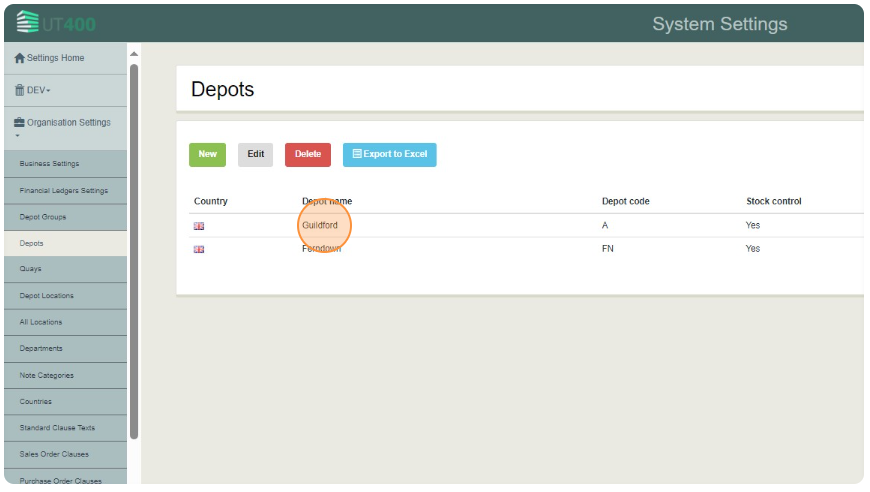
To assign different Logos or Images per depot, go to Settings > Organisation Settings > Depots and double-click on Depot.
Click on the “Depot Images” Tab.
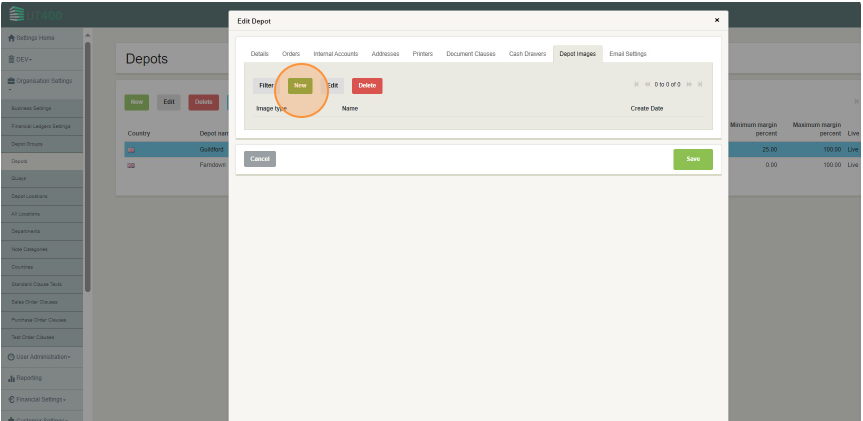
- New: This option lets you add new images.
- Edit: This option lets you edit an existing image.
- Delete: This option lets you delete an existing image.
Once done click “Save”.